ThomasPowers
-
Posts
53,395 -
Joined
-
Last visited
Content Type
Profiles
Forums
Articles
Gallery
Downloads
Events
Everything posted by ThomasPowers
-
Looks way more complex than needed to get started. I built my first one at an ABANA affiliate forge building workshop out of a 10" dia grain auger tube. The kaowool lining just slid in with the arch holding it up. Cover with refractory, same thing. Burner hit the wall at an angle to swirl and I used that for years. As your uses may change over time I would not recommend doing a fancy build till you know what YOU need/like from experience.
-

How not to start your Saturday morning
ThomasPowers replied to TWISTEDWILLOW's topic in Everything Else
Many if not most kids go through a Dinosaur phase; try to use it to encourage a love of science! (Few go on to be Paleontologists; luckily...) -
What did you do in the shop today?
ThomasPowers replied to Mark Ling's topic in Blacksmithing, General Discussion
Don; I've made that type of trivet in multiple sizes---before I had even found the "antique one". I have tended to use strap 1/2" x 1/4" for the smaller ones so the legs end up around 1/2" sq. (As the legs corrode more sitting in the ashes.) They are trivially simple once you get good at forge welding and bragging rights for doing it out of WI for the historic site! I tend to true them up by placing the top on a round of steel the correct height on a heavy steel plate and then adjusting the legs to hit the plate. Of course the originals for out door use were not too picky as you could bed them in the dirt to suit. That grill I picked up used at a thrift store about 40 years ago; it was all cast iron and has a ash door/draft control on the lower side and the top has a draft control for the outlet. We stopped buying charcoal and use only wood in it as you can control the fire with the two adjustors. Out here it's 100% mesquite. The cast iron heats up and the hamburgers cook fast as they are getting heat from top and bottom. The stand it's on is something from the scrapyard. It originally had pipe legs bolted on but it's getting old and frail so I wired it to the stand. Cast iron doesn't take falls well. -
485# Trenton anvil
ThomasPowers replied to Craigredfield's topic in Repairing and Modification to Anvils
That is after a Gunther/Schuler repair done by Pep Gomez previously it had been used at a copper mine where the maintenance crew had used it to prop stuff on for air arc gouging. OUCH! Made in Columbus OH; used in AZ, sold off when the mine shut down and brought back to Columbus OH, bartered to me and I hauled it to NM! Got a bunch of miles on it. -
A trick for making that type of handle with a forge is to lathe a wooden pattern and then wrap it with the wire hot and then burn out the pattern. Yes a lot of smoke and fire while wrapping---it's a bonus! I prefer to forge baskets for that sort of thing.
-
What did you do in the shop today?
ThomasPowers replied to Mark Ling's topic in Blacksmithing, General Discussion
How about one done in Old English Black Text? -
Post vises came in different weights; I call the heavy duty ones robustus and the slender ones gracile. I have at least a pair that have the same jaw width but the body of one is about twice the size as the body of the other. (The heavy's leg is over an inch in diameter for instance.) Nice to have both types; light for travel and heavy for heavy hitting!
-
Not to mention being kneaded by cats!
-
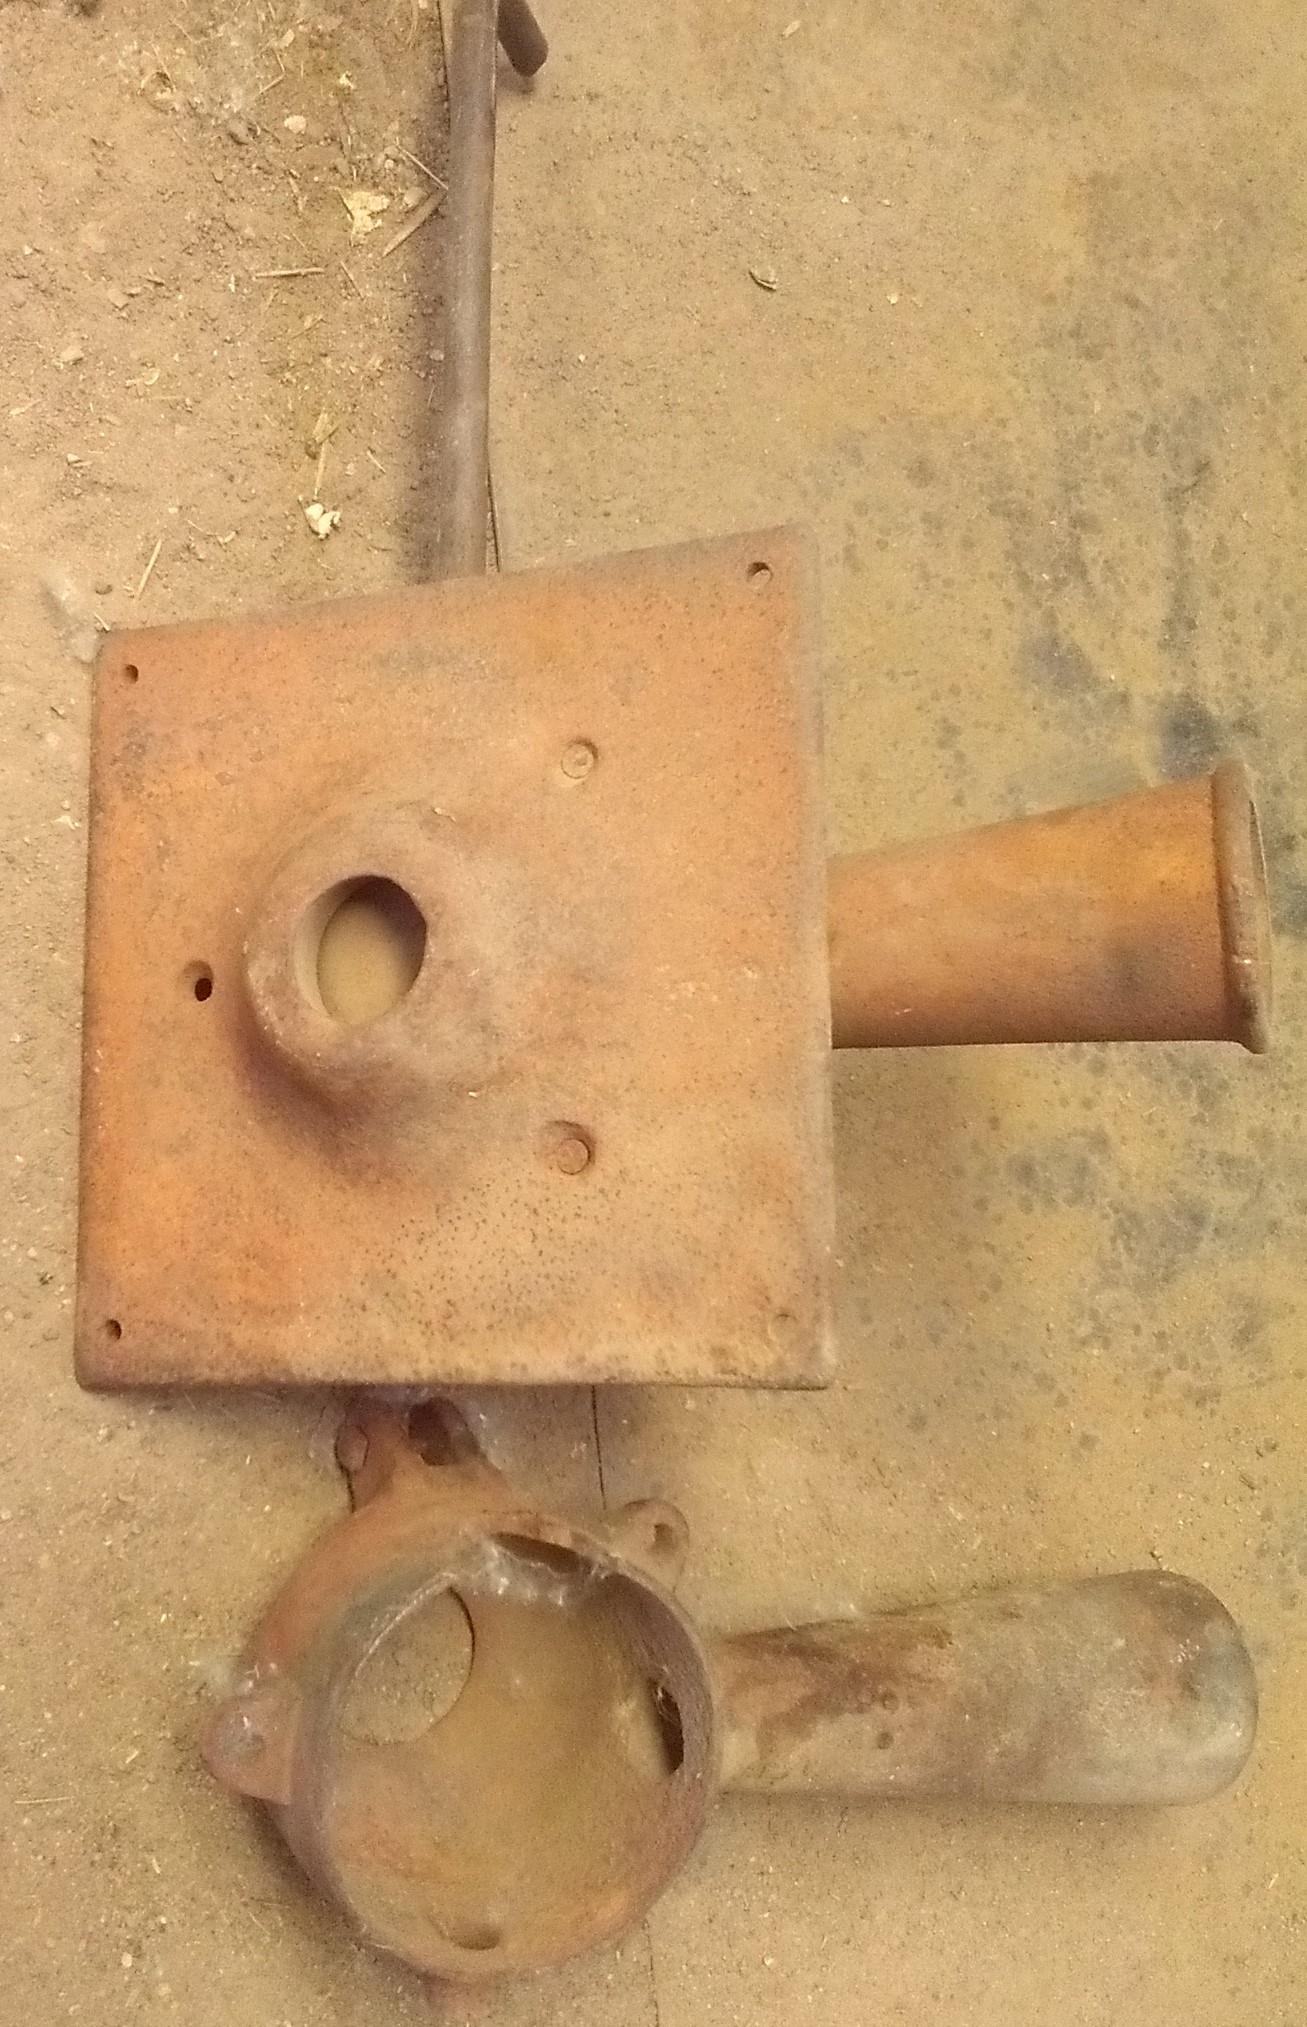
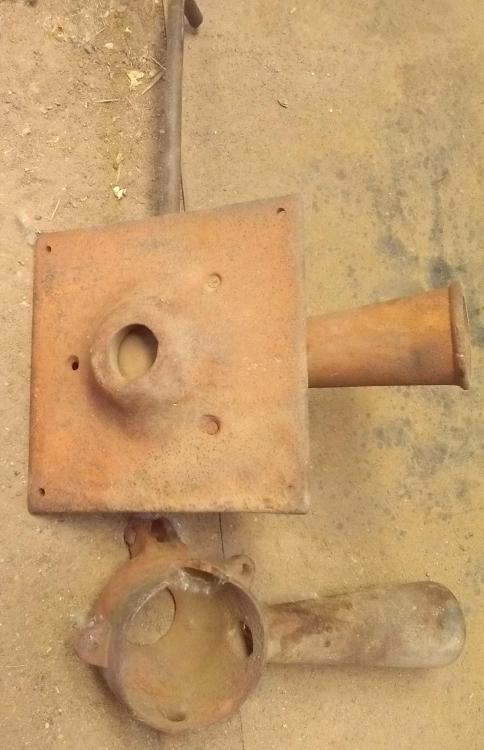
Any smaller holes in the domed bit like for a gas ring? Closest blacksmithing item I have to it is the tuyere for a bellows; but there are some significant differences:
-
Question: I wonder about the heel angle. I'd have left it solid steel; as it looks too thick to be able to use for things like forks. Of course access to the bottom of the hardy hole is useful to tap stuck hardy hole tooling out; but the rest?
-
What did you do in the shop today?
ThomasPowers replied to Mark Ling's topic in Blacksmithing, General Discussion
Finished the grill; drilled one end of the bars and then marked where the frame would hit the other end. Heated and forged the marked end flat. I had already drilled all the mounting holes in the frame and so was able to stick a drill bit up from the bottom and with a rivet placed at the other end scribe where the hole in the frame would hit and then center punch and drill the corresponding hole. Rivetted it all together using 8 penny bright nails for rivets; then went to the belt grinder and ground off any overlaps to the outside of the frame. The grill fit and we cooked hamburgers on it already so I'm good to go on the fourth!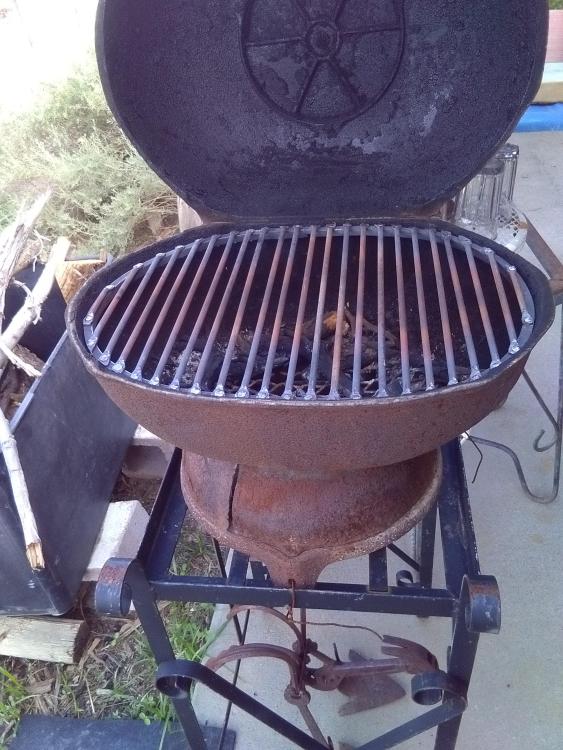
-
A rope soaked in diesel or kerosene will not bring that much steel up to critical temp; maybe draw temper a bit.
-
I've been forging some of the smaller lifting rings to an oval shape to help folks make spoons, (a task required in an instructor friends Metal Arts classes recently.) Also I forge down the bolster so they sit flat on an anvil face. Glad you found a useful scrapyard. I tend to buy too much at mine expecting my local one to get closed down or shut to outsiders...I probably have a lifetime supply of some stuff!
-
California has a number of pictures of rails being deformed by ground slip.
-
What did you do in the shop today?
ThomasPowers replied to Mark Ling's topic in Blacksmithing, General Discussion
As it's winter down there, preheat the oil to around 140 deg *F* / 60 C and draw temper IMMEDIATELY after hardening! To avoid burning the edge you can take a piece of black pipe, (non-galvanized), close off one end and bury it in the hot coals and make a muffle furnace. Add some powdered charcoal as an O2 scavenger and place the blade edge up in it and watch while it heats. -
[Video] Gas forge exhaust gas extraction system
ThomasPowers replied to Lateralus's topic in Chimneys, Hoods, and Stacks
Do you have an air curtain for the forge's door to shove the exhaust up towards the intake? -
Railroad rail sections
ThomasPowers replied to Gazz's topic in TPAAAT - Applied Anvil Acquisition Technique
If you are ever in the Albuquerque area, come and visit. It's about an hour south of the I-40/I-25 interchange and is within sight of I-25 and less than 10 miles from my shop! -
Re watch Ben-Hur for ideas? I'm glad you figured out that you use the bench grinder to modify the blades...
-
Probably ran over it with one of the *big* pieces of equipment. They said that scrap prices have tanked again. I had warned them that they should sell as much as they can when they were "high"; but they thought they would go higher so now they are running around pushing the piles higher and crushing and stacking stuff. Good in that stuff that has been hidden is now visible---*if* you can get there when it's visible and they are not working the piles. Bad in that a lot of "usable stuff" is being mangled. I also remember the video of the whale being trucked through town and exploding.
-
Anvil Stands. Make'em nice and clean
ThomasPowers replied to David Kailey's topic in Stands for Anvils, Swage Blocks, etc
Even in a much bigger shop the "forging area" tends to be about 10' x 10'; the rest is storage, work benches, etc. Currently my forging area is bimodal with a coal forge and a gas forge that have a shop anvil between them. and a post vise associated with each one. -
COPD is not a good thing to have as has been shown quite clearly during the pandemic.
-
Anvil Stands. Make'em nice and clean
ThomasPowers replied to David Kailey's topic in Stands for Anvils, Swage Blocks, etc
Whereas I find I bend over too much and a low anvil gives me back pain after a session. However I have a number of anvils at different heights as some tasks go better on a higher or lower anvil. (I have the anvils I take to teach smithing lined up by my forging area and as students differ in height I try to provide a range of heights for them to try out and use.) One thing I have noticed is the number of beginners who demand a single answer to things with a wide range of them; also the "one book wonders" who have one source and insist that it must apply to everything/everyone. -
Railroad rail sections
ThomasPowers replied to Gazz's topic in TPAAAT - Applied Anvil Acquisition Technique
Just picked up a 2' long 70 pound chunk of rail today for 20 USCents a pound. I'll probably take it to the next meeting and see if anyone will give me US$20 for it.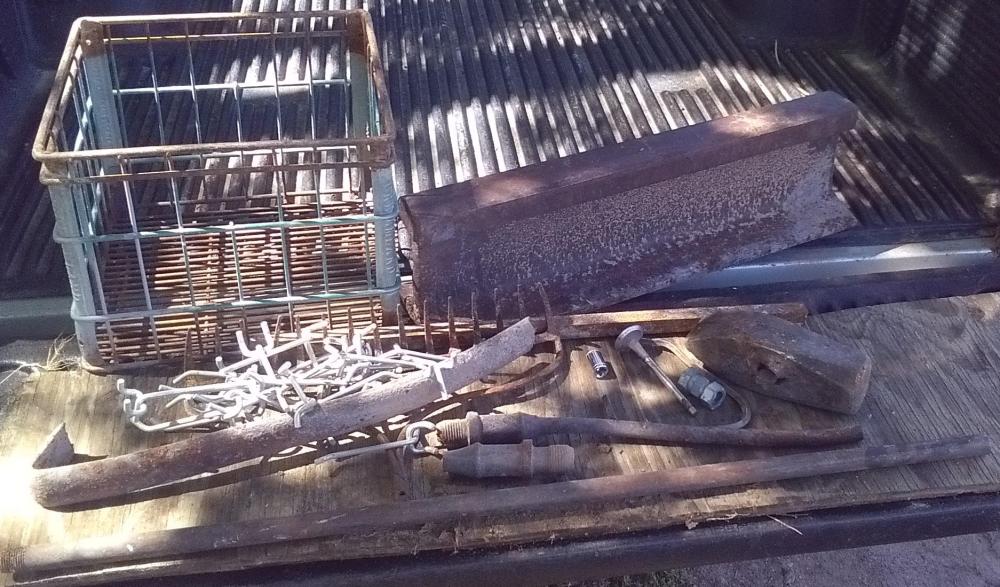
-
Anvil Stands. Make'em nice and clean
ThomasPowers replied to David Kailey's topic in Stands for Anvils, Swage Blocks, etc
Yup definitely not a "one size fits all" situation; and with such a permanent stand it behooves folks to *know* the correct height for them before doing all that work. (Also, distance to the forge for the types of stuff they do.) -
No whales are *much* more nasty! In Antarctica I would be much more worried about the zombie penguin apocalypse...